What Is Plastic Injection Molding?
What Is Plastic Injection Molding? It is a manufacturing process that turns heated plastic into precise, repeatable parts. Plastic pellets enter a machine’s heated barrel, soften, and move under pressure into a closed mold. The material cools against the mold’s shaped surfaces, then the finished part is ejected. The sequence sounds simple. The details are not.
Plastics-processing author Douglas M. Bryce, whose book Plastic Injection Molding: Manufacturing Process Fundamentals examines the process, offers a useful principle in paraphrase: reliable molding depends on coordinating the material, mold, and machine. That relationship is visible on the factory floor. A resin’s drying needs, a mold’s cooling channels, and the machine’s injection settings can all affect the result. Small changes may leave a part warped, short-filled, or marked by a visible seam. Even a well-designed tool needs careful setup and monitoring.
This guide explains the process, its main components, common materials, and typical applications. It also considers benefits and limitations, including tooling cost and design constraints. A clear understanding helps engineers, buyers, and product teams ask better questions before production begins. There is no magic setting. And real production can be messier than a diagram suggests: material batches vary, and process adjustments sometimes require more than one attempt. That is worth remembering when comparing molded parts or planning a new product.
What Plastic Injection Molding Is
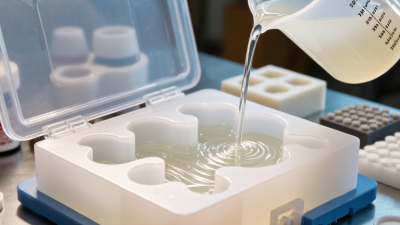
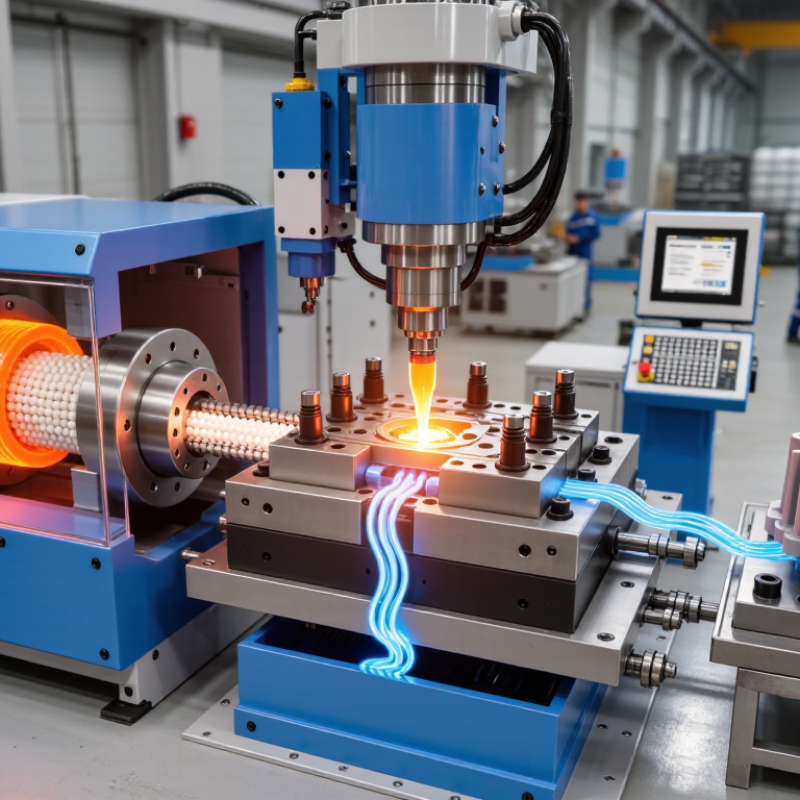
Plastic injection molding is a process that turns plastic pellets into shaped parts using heat, pressure, and a reusable mold. Pellets enter a hopper, then a rotating screw moves them through a heated barrel. The softened plastic is pushed into a closed steel or aluminum mold. It fills the cavity. After cooling, the mold opens and ejector pins release the part.
The mold defines the part’s shape and can form details such as ribs, snap-fit tabs, or lettering. Cooling channels carry water through the mold to remove heat. Their placement matters: uneven cooling can cause warping, sink marks, or dimensional changes. Even small differences in wall thickness may affect cooling time and strength. Designers often aim for fairly uniform walls, though real parts still need testing.
This process suits repeated production because each cycle can create parts with consistent geometry. It is used for products ranging from small electrical housings to container caps. However, molds take time and money to make, so injection molding may be less practical for a small number of parts. Material choice, gate location, temperature, and pressure all influence the result. A setting that works for one resin or mold may fail with another. That is easy to underestimate.
What Is Plastic Injection Molding?
Plastic injection molding melts plastic pellets, injects the molten material into a mold, and lets it cool into a finished part. This chart shows an illustrative 20-second cycle for a small thermoplastic part; actual cycle times vary with the material, part design, and mold.
Materials and Equipment Used in the Process
What Is Plastic Injection Molding?
Materials and Equipment Used in the Process
Plastic injection molding turns heated polymer pellets into precise parts. Materials commonly include polypropylene, ABS, polycarbonate, and nylon. Each behaves differently under heat and pressure. Nylon and polycarbonate, for example, often need careful drying because moisture can affect part quality. PlasticsEurope’s Plastics—The Fast Facts 2024 reports 413.8 million tonnes of global plastics production in 2023. That figure covers plastics broadly, not injection-molded parts alone, but it shows the scale of material selection and processing.
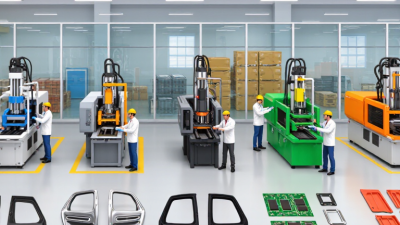
The equipment includes a hopper, heated barrel, rotating screw, clamping unit, and mold. The screw melts and pushes material into the closed mold. Cooling channels help the part set before ejection. Mold design matters. So does machine sizing: shot capacity must suit the part, while clamp force must resist pressure across the mold’s projected area. Small errors can cause flash, warping, or short shots. The process looks tidy on paper. Real runs can be less forgiving.
Tips: Check the resin supplier’s processing data before setting temperatures or drying times. Match the material to the part’s strength, heat, and surface needs. Record machine settings during trials; a “good enough” setting may not repeat reliably.
How the Injection Molding Cycle Works
What Is Plastic Injection Molding?
How the Injection Molding Cycle Works
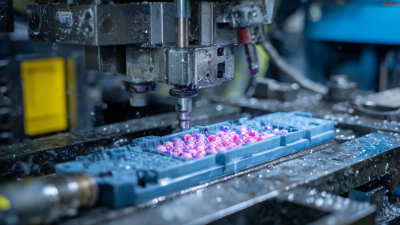
The cycle begins when two halves of a steel mold close firmly together. Plastic pellets drop into a heated barrel, where a rotating screw melts and mixes them. The screw then pushes the molten plastic through a nozzle and into the mold’s cavities. Pressure matters here. Too little can leave thin sections incomplete; too much may cause flash along the mold’s seam.
Once the cavities fill, the machine maintains pressure briefly to compensate for plastic shrinkage as it cools. This packing stage can affect part weight and surface detail. Then the mold stays closed while cooling channels carry heat away. Cooling often takes longer than filling, especially for thick parts. A few extra seconds can influence the result, though simply cooling longer is not always the answer.
When the part is firm enough, the mold opens and ejector pins push it free. The pins may leave small marks, so their placement deserves attention during mold design. The machine closes again, and the cycle repeats. Operators watch for changes in dimensions, surface finish, and cycle time. A stable process is the goal, but real production can be less tidy: material moisture, temperature shifts, or wear may alter results. Small adjustments need careful testing.
Key Design and Quality Considerations
What Is Plastic Injection Molding?
Key Design and Quality Considerations
Plastic injection molding works best when part design, material choice, and process settings are considered together. Wall thickness is a useful starting point: uneven sections can cool at different rates and cause sink marks or warping. Keep walls as consistent as the part’s function allows. Small details matter. Ribs can add stiffness, but overly thick ribs may create visible depressions on the opposite surface. A modest draft angle also helps parts release cleanly from the mold, especially on deep walls.
Gate location affects how plastic fills the cavity and where weld lines appear. These lines may be harmless, or they may weaken a highly loaded area; testing is needed to tell. Tolerances should reflect the material and the part’s purpose, not an assumption that every dimension can be held equally tightly. Mold-flow analysis can flag potential filling and cooling issues, though it cannot replace physical trials. That distinction is easy to overlook.
Quality checks should examine dimensions, appearance, and fit under realistic conditions. A first-off sample may look sound, yet later parts can shift as machine settings or material moisture vary. Record the process window, inspect critical features, and repeat measurements across a production run. Some defects still surprise even experienced teams. Review them against the drawing and the actual application before changing the tool.
Common Applications, Benefits, and Limitations
What Is Plastic Injection Molding?
Plastic injection molding melts polymer pellets and injects the material into a shaped mold. After cooling, the part is ejected, ready for use or finishing. The process makes items such as food containers, electrical housings, automotive clips, and medical-device components. Grand View Research valued the global injection-molded plastics market at USD 387.5 billion in 2023, reflecting its broad use across industries.
Once a mold is ready, manufacturers can produce many consistent parts quickly. Complex shapes, fine surface details, and thin walls are possible, with little finishing for some designs. Automated production can also reduce handling and labor per part. Tooling costs are real. For short production runs, they may outweigh the low cost of each finished part. That trade-off is easy to underestimate.
The mold must be designed around resin flow, cooling, and ejection. Poor choices can leave sink marks, warped edges, or visible weld lines. Thick sections may cool slowly, extending cycle times. Some scrap can be reground, but repeated processing may affect material performance. Engineers should test the chosen resin and part geometry under realistic conditions. A small prototype can reveal issues, though it cannot perfectly predict every production result.